Welcome! This guide unlocks your Trane thermostat’s potential, offering easy navigation through features and functions for optimal home comfort and energy savings.
User Manuals are available to help you confidently set up, use, and maintain your new Trane thermostat, ensuring a seamless experience.
What is a Trane Programmable Thermostat?
Trane programmable thermostats represent a significant advancement in home climate control, moving beyond simple manual adjustments. These devices allow homeowners to establish customized heating and cooling schedules, optimizing comfort while minimizing energy consumption.
Essentially, they automate temperature regulation, adapting to your lifestyle and preferences. User manuals detail how to program these schedules, tailoring them to daily routines, work hours, and sleep patterns. This intelligent control translates to reduced utility bills and a more comfortable living environment.
Benefits of Using a Programmable Thermostat
Programmable thermostats deliver substantial benefits, primarily through energy conservation. By automating temperature adjustments, they eliminate wasteful heating or cooling when a home is unoccupied. User manuals emphasize the potential for significant savings on monthly utility bills.
Beyond cost reduction, these thermostats enhance comfort by ensuring ideal temperatures are maintained precisely when needed. Features like scheduling and hold options, detailed in the manual, provide personalized climate control, improving overall home livability and convenience.
Understanding Your Thermostat Model
Identify your Trane model – XT500, T6 Pro, or others – as features and operation vary. Consult your manual for specifics!
Identifying Your Specific Trane Model (e.g., XT500, T6 Pro)

Determining your exact Trane thermostat model is crucial for accessing the correct documentation and support. Common models include the XT500 and T6 Pro, but Trane offers a diverse range.
Locate the model number typically found on the thermostat’s faceplate, back panel, or within the settings menu. Referencing your user manual will guide you to its precise location. Knowing your model unlocks access to tailored instructions, troubleshooting tips, and feature explanations, ensuring optimal performance and a personalized experience.
Key Features and Display Overview
Trane thermostats boast intuitive displays showcasing current temperature, setpoints, and operating mode. Key features often include programmable schedules, Wi-Fi connectivity for remote control, and energy usage reports.
The display interface typically utilizes touchscreen or button controls for easy navigation. Familiarize yourself with icons representing heating, cooling, fan settings, and menu options. Understanding these elements allows for efficient operation and customization, maximizing comfort and energy savings based on your preferences.
Initial Setup and Installation
Begin with power-up and configuration, carefully following the on-screen prompts. Ensure proper wiring and secure mounting for optimal performance and reliable operation.
Powering On and Initial Configuration
Initial startup is straightforward; ensure the thermostat receives adequate power, either through batteries or the HVAC system’s wiring. The display will illuminate, guiding you through the initial configuration process.
Follow the on-screen instructions to set your preferred language, date format, and time zone. The thermostat may prompt you to identify your system type – heat pump, forced air, or others – for accurate operation.
Confirm these settings carefully, as they form the foundation for your thermostat’s functionality and scheduling capabilities. Accurate initial setup ensures optimal performance.
Connecting to Wi-Fi (if applicable)
For models with Wi-Fi capability, connecting to your home network unlocks remote control and advanced features. Access the thermostat’s settings menu and select the Wi-Fi option.
The thermostat will scan for available networks; choose yours and enter the password when prompted. A successful connection is indicated by a Wi-Fi symbol on the display.
Ensure a stable internet connection for reliable remote access and updates. This connectivity enables smart home integration and convenient control via the Trane app.

Programming Your Thermostat
Customize your comfort! Easily create schedules tailored to your lifestyle, optimizing energy use and ensuring a perfectly comfortable home environment at all times.
Setting Date and Time
Accurate time is crucial for proper scheduling. Begin by accessing the thermostat’s menu, typically through a button labeled ‘Menu’ or ‘Settings’. Navigate to the ‘Date and Time’ option.
Use the up and down arrows, or corresponding buttons, to adjust the month, day, and year.
Repeat this process for setting the correct hour and minute.
Confirm your selections to ensure the thermostat operates on the correct schedule, maximizing efficiency and comfort.
Creating a Basic Heating/Cooling Schedule
Establish comfort and savings by programming a schedule. Access the ‘Schedule’ option within the thermostat’s menu. Typically, you’ll define periods like ‘Wake’, ‘Leave’, ‘Return’, and ‘Sleep’.
For each period, set your desired temperature for both heating and cooling.
Repeat this for each day of the week, or copy settings to multiple days.
Save your schedule to automatically adjust temperatures, optimizing energy use and ensuring a comfortable home environment.
Advanced Scheduling Options (Hold, Vacation Mode)
‘Hold’ functionality temporarily overrides your programmed schedule, maintaining a set temperature indefinitely or for a specified duration. This is ideal for unexpected changes in routine.
‘Vacation Mode’ activates when you’re away for an extended period, setting a significantly reduced heating/cooling temperature to conserve energy.
Configure the start and end dates for vacation mode.
These advanced options provide flexibility and maximize energy efficiency, adapting to your lifestyle.
Using the Thermostat Interface
Navigate with ease! This section details how to effectively use the menu system and manually adjust temperatures for personalized comfort control.
Navigating the Menu System
Accessing the Menu: Your Trane thermostat features an intuitive menu system, typically accessed via a dedicated ‘Menu’ button on the device. Pressing this button reveals a list of options, allowing you to customize settings.
Menu Options: Expect to find options for scheduling, temperature adjustments, fan control, system settings, and potentially Wi-Fi connectivity. Use the up and down arrow buttons to scroll through the available choices.
Selection: Confirm your selection by pressing the ‘Select’ or ‘Enter’ button. To return to the previous screen, look for a ‘Back’ or ‘Cancel’ option within the menu.
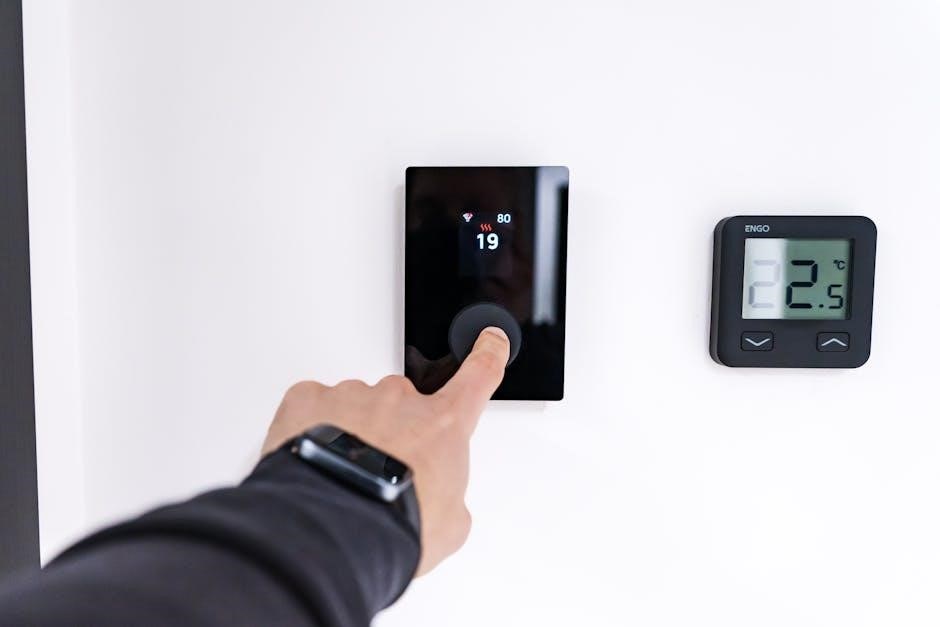
Adjusting Temperature Manually
Direct Control: To manually override the programmed schedule, utilize the up and down arrow buttons located on the thermostat’s face. Each press will adjust the setpoint temperature in pre-defined increments, typically one degree.
Temporary Override: This manual adjustment usually creates a temporary hold, maintaining the new temperature until the next scheduled program event.
Permanent Hold: Some models offer a ‘Hold’ function for a permanent manual setting, disabling the programmed schedule entirely until manually released.

Troubleshooting Common Issues
Quick Solutions: This section provides guidance for resolving frequent problems like unresponsive displays, Wi-Fi connection failures, and inaccurate temperature readings.
Thermostat Not Responding
Initial Checks: If your Trane thermostat isn’t responding, first verify the power supply. Ensure the unit is receiving adequate electricity, checking circuit breakers or the power switch.
Battery Inspection: For battery-powered models, replace the batteries with fresh ones. A low battery can cause complete system failure.
Reset Attempt: Try a simple reset by briefly removing power to the thermostat. If issues persist, consult the full troubleshooting section or contact Trane support.
Wi-Fi Connectivity Problems
Network Verification: If your Trane thermostat struggles with Wi-Fi, confirm your home network is functioning correctly. Test other devices to rule out a broader internet outage.
Signal Strength: Ensure the thermostat is within range of your Wi-Fi router. Walls and distance can weaken the signal; consider a range extender.
Re-Connection: Attempt to reconnect the thermostat to your Wi-Fi network following the initial setup instructions. Consult Trane’s online resources for detailed guidance.
Incorrect Temperature Readings
Placement Matters: Ensure your Trane thermostat isn’t exposed to direct sunlight, drafts, or heat-generating appliances. These factors can skew temperature readings significantly.
Calibration Check: Some Trane models allow for temperature calibration. Consult your specific model’s manual to determine if this feature is available and how to use it.
Sensor Issues: If calibration doesn’t resolve the issue, a faulty temperature sensor might be the cause. Contact Trane support for assistance and potential repair options.
Maintenance and Care
Regular cleaning with a soft cloth ensures optimal performance. Battery replacement (if applicable) maintains consistent operation and accurate temperature control.
Cleaning the Thermostat
Gentle care extends your thermostat’s lifespan. Always power off the thermostat before cleaning to prevent electrical issues. Use a soft, dry cloth to wipe the display and casing, removing dust and fingerprints.
Avoid harsh chemicals or abrasive cleaners, as they can damage the surface. For stubborn marks, lightly dampen the cloth with water, ensuring it’s not dripping wet. Never spray liquid directly onto the thermostat. Regular dusting keeps it looking its best!
Battery Replacement (if applicable)
Low battery warnings indicate it’s time for a replacement. Consult your specific model’s guide for battery type and location – typically AA or AAA. Power off the thermostat before proceeding. Gently open the battery compartment and remove the old batteries, noting the correct polarity (+/-).
Insert fresh batteries, ensuring proper alignment. Close the compartment securely. A brief power interruption may occur; the thermostat will automatically reset. Dispose of old batteries responsibly;
Advanced Features & Settings
Explore smart home integration and optimize energy usage with Trane’s advanced settings, maximizing comfort and efficiency for a personalized experience.
Smart Home Integration (if applicable)
Seamlessly connect your Trane thermostat to popular smart home ecosystems like Google Assistant or Amazon Alexa for voice control and enhanced automation.
Control temperature, adjust schedules, and monitor energy usage remotely through integrated apps.
Enjoy a connected home experience, streamlining comfort and convenience.

Check compatibility with your specific Trane model and follow the provided instructions for a smooth integration process, unlocking a new level of home automation.
Energy Saving Tips & Optimization
Maximize efficiency by utilizing your thermostat’s scheduling features to align with your daily routine, reducing energy consumption when you’re away or asleep.
Implement eco-mode settings for automatic temperature adjustments, optimizing energy use without sacrificing comfort.
Regularly review your energy reports (if available) to identify areas for improvement and refine your settings.
Proper usage ensures a comfortable home and lower utility bills, contributing to a more sustainable lifestyle.
Understanding Error Codes
Decoding messages is crucial for quick troubleshooting. This section details common Trane thermostat error codes and provides guidance for effective resolution.
Decoding Common Trane Thermostat Error Messages

Error codes provide vital clues when your Trane thermostat isn’t functioning correctly. Common codes indicate issues like sensor failures, communication problems, or power supply disruptions.
For example, a “C” error often signals a missing or weak common wire, essential for consistent power. “E1” might point to a faulty temperature sensor, while communication errors suggest a connection issue with your HVAC system.
Consult your specific model’s documentation for a complete list and detailed explanations of each code, enabling accurate diagnosis and swift resolution.
Resolving Error Code Issues
Addressing error codes often begins with simple troubleshooting. First, power cycle the thermostat – turn it off and on again. Verify wiring connections, ensuring all wires are securely fastened to their terminals.
If a “C” wire is the issue, professional installation might be needed. For sensor errors (“E1”), contact a qualified HVAC technician for replacement.
Always refer to your thermostat’s manual for specific guidance, and don’t hesitate to contact Trane customer support for assistance with complex problems.

Factory Reset and Recovery
Restoring defaults can resolve persistent issues. A factory reset clears settings, returning the thermostat to its original state for a fresh start.
Performing a Factory Reset
Initiating a reset typically involves accessing the thermostat’s menu system. Navigate to the ‘Settings’ or ‘Advanced’ section, then locate the ‘Reset’ option. Confirm your choice, understanding all customized settings will be erased.
Caution: This action returns the thermostat to its original factory defaults.
Post-reset, you’ll need to reconfigure Wi-Fi, date/time, and your preferred heating/cooling schedules. Refer to the initial setup instructions for guidance. This ensures optimal performance.
Restoring Saved Settings
Before a reset, if possible, note your customized settings – schedules, temperature preferences, and Wi-Fi credentials. Post-reset, some Trane models allow restoring from a recent backup, if enabled.
Check the menu for a ‘Restore’ or ‘Load Settings’ option. If no backup exists, manual reconfiguration is necessary.
Re-establish your Wi-Fi connection, input the correct date and time, and recreate your desired heating and cooling schedules for a personalized experience.
Resources and Support
Need help? Trane’s website offers extensive online support, FAQs, and downloadable manuals. Contact Trane Customer Service for personalized assistance with your thermostat.
Trane Website and Online Support
Explore Trane’s official website for a wealth of resources dedicated to your programmable thermostat. You’ll find comprehensive user manuals available for download, covering various models like the XT500 and T6 Pro.
Access frequently asked questions (FAQs) addressing common issues and troubleshooting steps. Discover helpful articles and videos demonstrating thermostat features and optimal usage.
Utilize the online support portal to search for specific information or submit inquiries directly to Trane’s support team, ensuring you receive expert guidance when needed.
Contacting Trane Customer Service
For personalized assistance, reach out to Trane Customer Service directly. Find their contact number on the official Trane website, typically listed within the support section.
Prepare your thermostat model number (e.g., XT500, T6 Pro) before calling to expedite the support process.
Alternatively, explore online chat options, if available, for immediate support. Dedicated representatives are equipped to address your questions and guide you through troubleshooting steps related to your thermostat.